DIY Stretching Your Hat (Advanced)Updated 6 months ago
Estimated time 2hrs
Materials you will need:
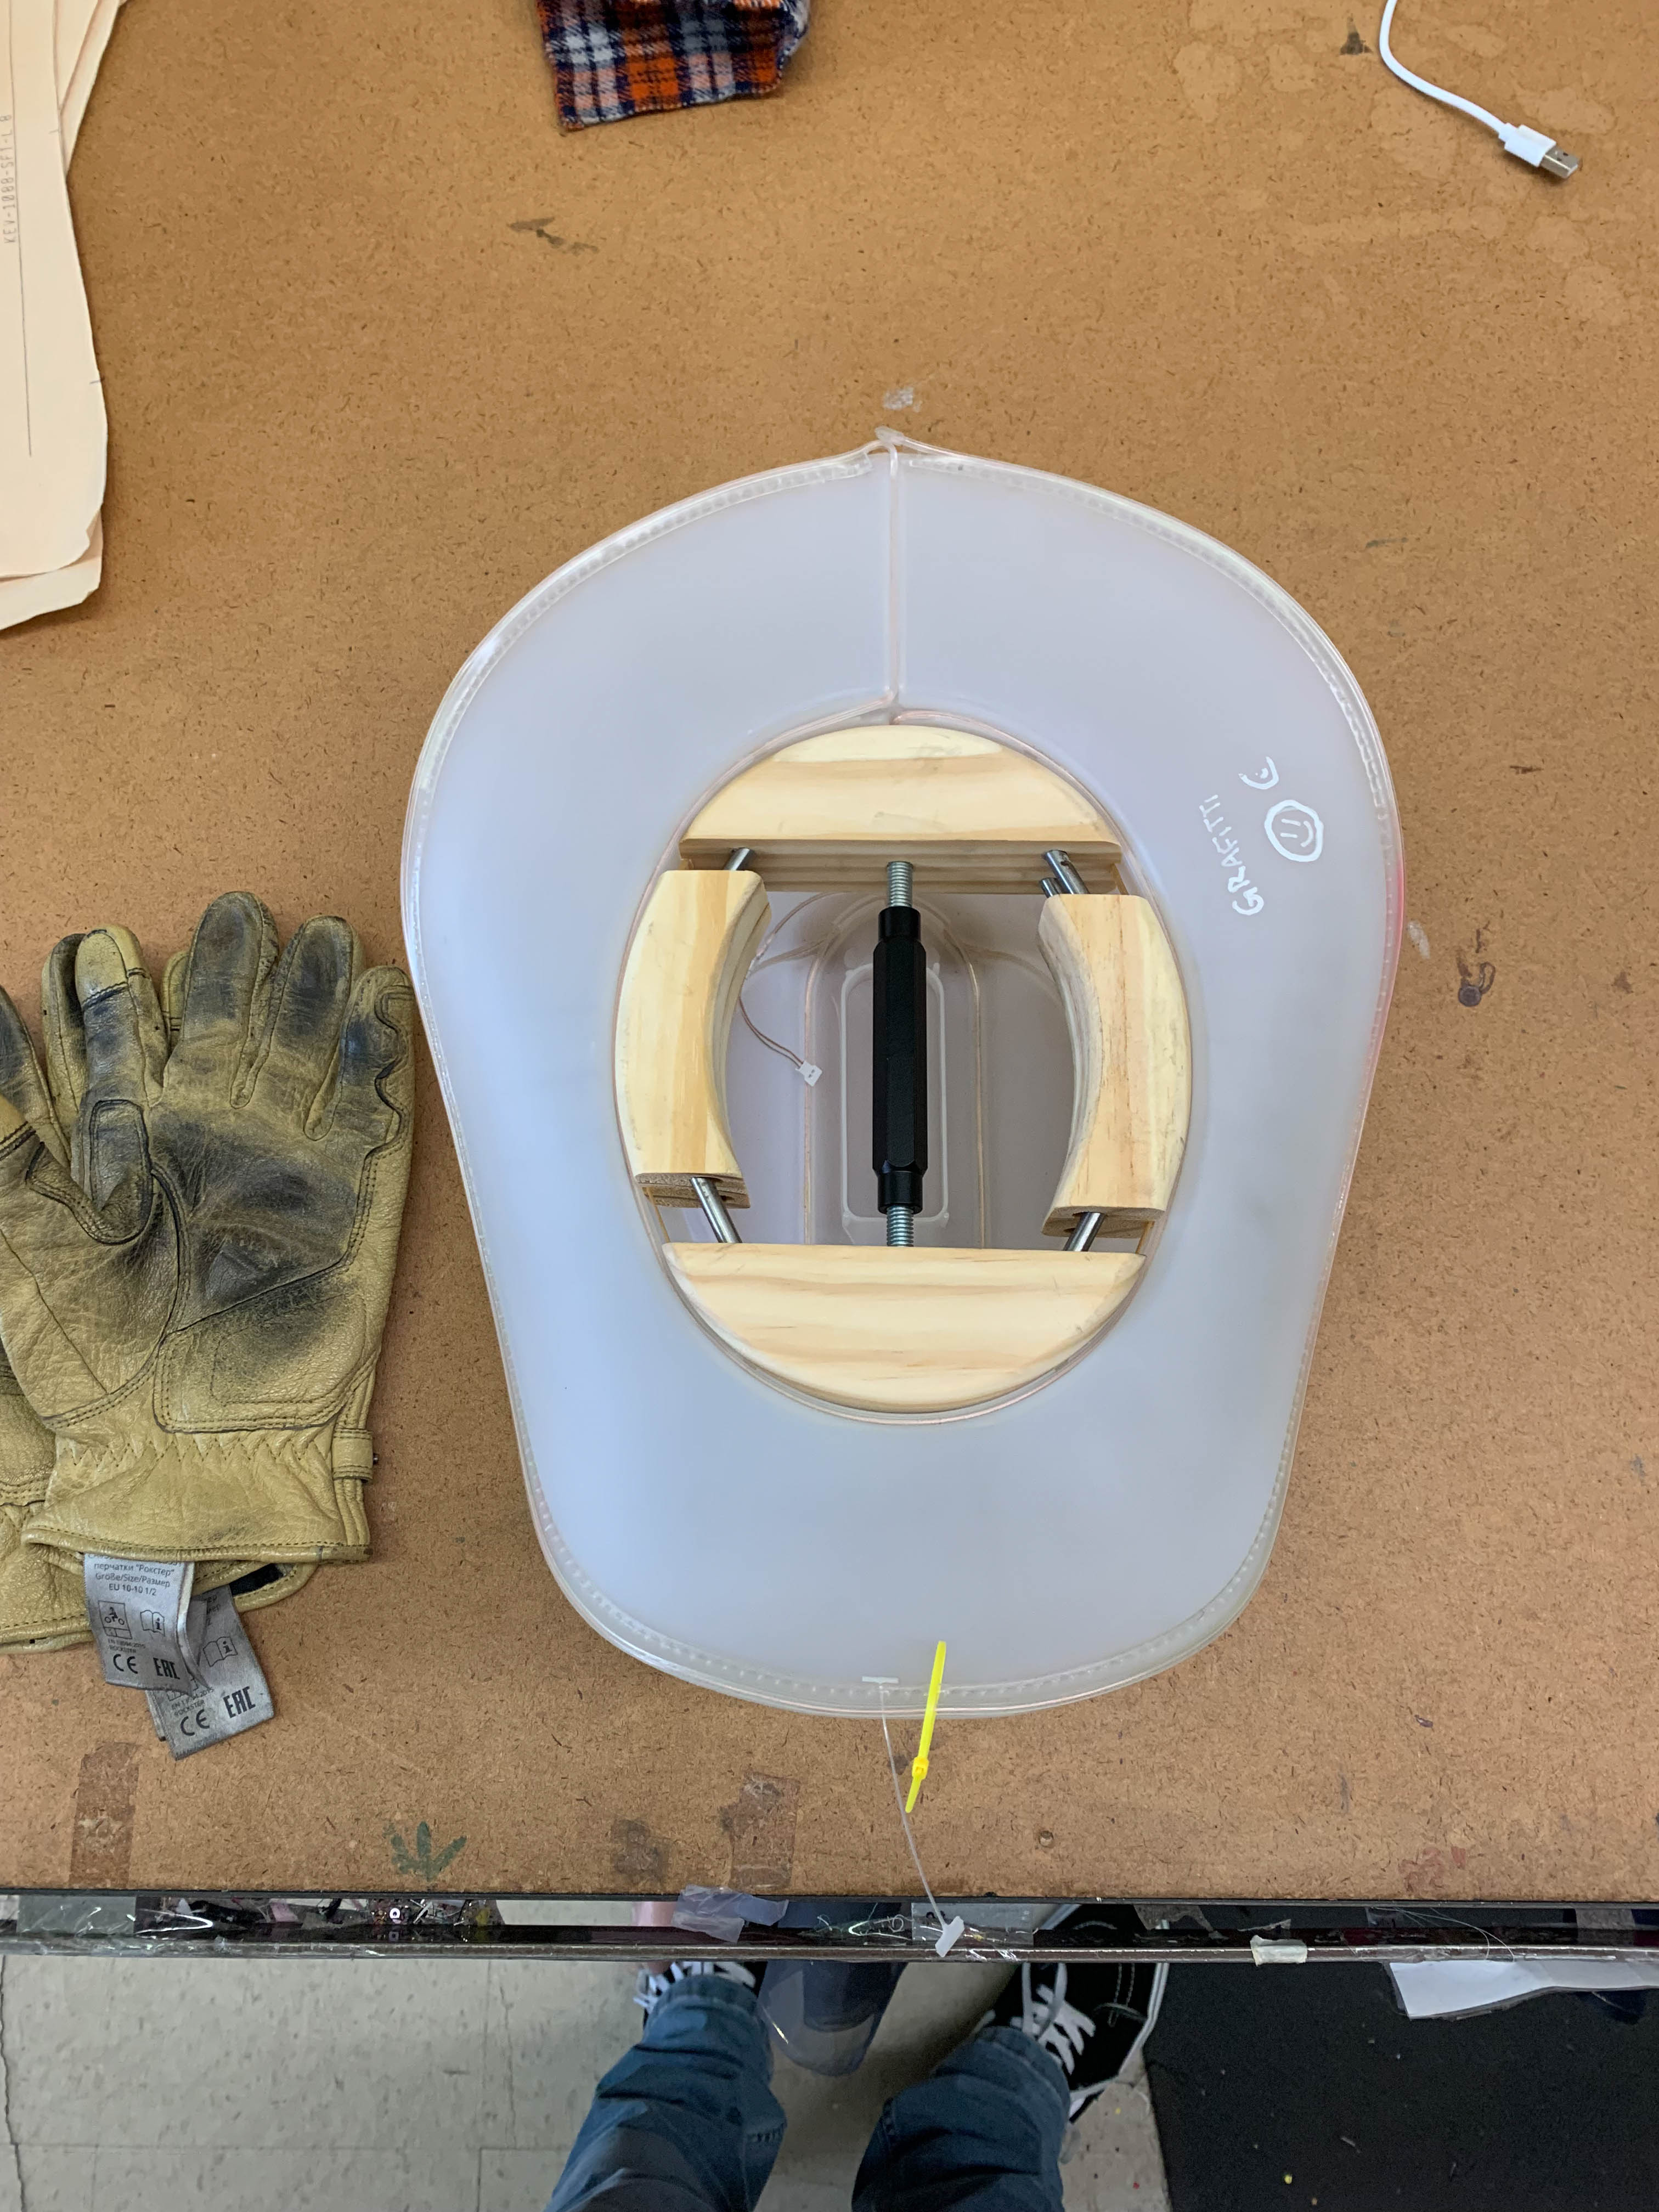
4-way hat stretcher (you can find the one we used here)
A hair dryer
Oven mitts (you can also use a pot holder or some heat resistant gloves).
How to do it:
Seat the hat stretcher inside the hat. Be sure that it is even on both sides. And tighten the adjustment rod until it is sitting firmly in place.
Put on your gloves. If you only have one, you will want it in the hand you plan to crank the adjustment rod with. The adjustment rod will get hot.
Start evenly heating the areas of the hat that the stretcher is touching. It will likely hit the sides first and you will want to heat both sides evenly to keep everything centered.

- As it warms up, take your gloves hand and tighten the adjustment rod. This part will take some finesse, don’t rush. If you aren’t strong enough to tighten it, don’t worry, the plastic just hasn’t warmed up enough. It takes many small partial turns over time.
- Because you are heating from the top, eventually you will reach a point where it gets harder to tighten the adjustment rod. Once you have reached this point, shoot the hair dryer into the hat at an angle to warm up underneath the stretcher.

- Same as in step 4, as it warms up you’ll be able to tighten the adjustment rod again. Go back and forth between heating with the hair dryer and using your gloves hand to tighten the adjustment rod. This step will make the adjustment rod very hot, so be smart, don’t rush, and take breaks to let your gloved hand cool.
- Repeat until you have stretched the brim to your desired size. Let it cool before removing the stretcher and trying it on for a fit test.
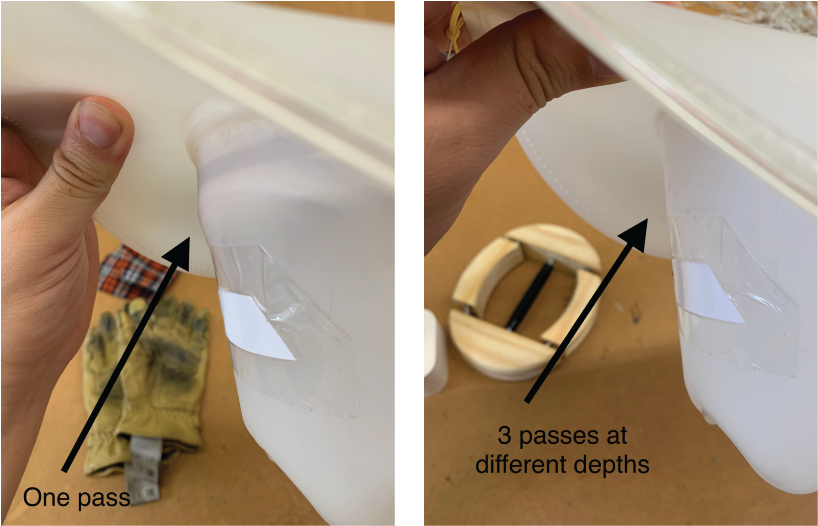
- You can also repeat this process, placing the stretcher deeper into the crown if it is still sitting too high on your head. We did this process 3 times, once on the edge inside the crown, once a little deeper inside so it would fit lower on the head, and a third time on the edge inside the crown to open it up a little more. Doing it multiple times and working the stretcher deeper into the crown each time, can also help smooth out any bumps or edges that appear on the outside of the crown from stretching the plastic.
- Once you have achieved your desired size, we recommend stringing on a chin strap (demo found here) and going out and having a blast!
Glow get 'em! you’re all set!
For more advanced DIY-ers:
We want to gently stretch the plastic as it heats up enough to be soft and pliable.
This is why we chose not to use a wrench to adjust the stretcher. Your fingers are stronger than soft plastic. If you can’t turn the adjustment rod in the stretcher, the plastic isn’t soft enough to be stretched yet.
A wrench makes it very easy to put pressure on the plastic, but too much pressure can cause the plastic to crack.
It’s a balance between gentle pressure from the stretcher and heat to soften the plastic and make it willing to be stretched.
If you have access to tools like a heat gun, be careful to not heat the plastic up too much or too quickly over a small area because this could result in more extreme deformities or for the crown of the hat to collapse.
The name of the game is even heat, and small incremental size increases.